The card opens when tapped in the HCO`s (institutions) section. It contains information about the institution. The institution card includes mandatory and optional fields.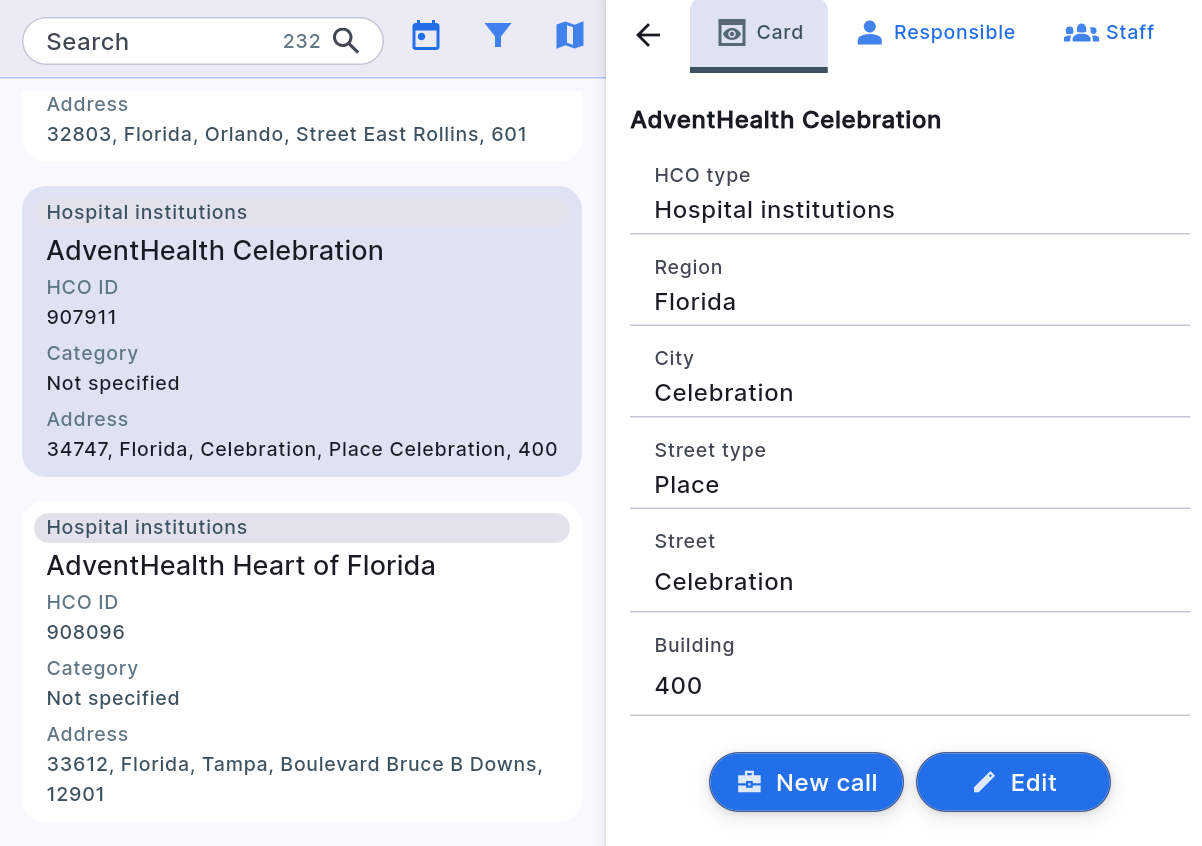
The list of mandatory fields:
- Name - free-form text, name of the company
-
Region - pick a region from the list, list depends on the user’s country.
-
City – search and pick a city from the list that will appear when a user presses this field, the list depends on the region, that is picked higher.
-
street type - pick a street type from the list.
-
street - free-form text, name of the street
-
HCO type - pick the company type from the list, the list depends on the user’s language.
Fields are optional for HCO’s.
The user can fill these fields if they wish.
-
Building – free-form text, enter the building number.
-
Category - a list will open where the category can be selected. If the user wants to change the company’s category, but cannot change this field, he should contact his manager.
-
Email – email format field, the user can enter an email address here.
-
Phone – phone number format field, the user can enter the phone number here.
-
Archive reason - if the company is in the active base, this field is empty. In case the company should no longer be in the active base, the user should select a suitable archiving reason from the list.
The institution card cannot be deleted. Instead of deletion, the card can be moved to the archive by providing an archive reason. After this, the institution card will not be displayed in the active database but will appear in the archive database, which can be viewed by applying the "Institutions in Archive" filter.
By tapping on the institution card, the following tabs at the top of it will be available:
-
Card. Basically contains information about the institution. Also, user can change the information about the institution or create a new call to this institution. This tab has two buttons: “New call” and “Edit”.
- Tapping New call at the bottom of the card will open a card for a new call to that institution. If necessary, fill in the required fields and tap «Save» to save the new call to the user’s schedule.
-
By tapping Edit at the bottom of the card, the user can change the information about the institution, as well as send the institution to the archive if it is no longer active or get it out of the archive if the institution should be active (to remove the archive reason, click on the recycle bin icon to the right of archive reason).
-
Responsible. Here user can add himself as responsible for the institution by tapping on the Add button.
Or press the recycle bin icon to the right of the full name to remove the institution from his responsibility. -
Staff. List of all institution employees and the button «new client» at the top of it. A list of all clients in this institution and a "New Client" button at the bottom of the card. A “Schedule All Clients” button is nearby, which allows you to schedule visits to all clients on the specified day from the selected institution.
-
Timeline. Here, all previous calls and tasks related to the open institution are displayed in chronological order.
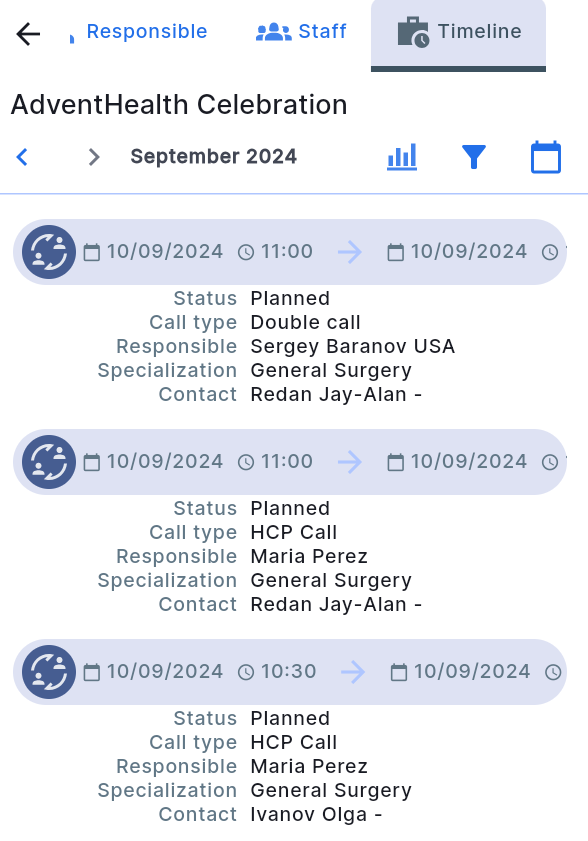
When you open the history, information for the last month with activity is displayed. To view activity for previous periods, use the arrows next to the month name.
You can also filter the activity by clicking on the filter icon.
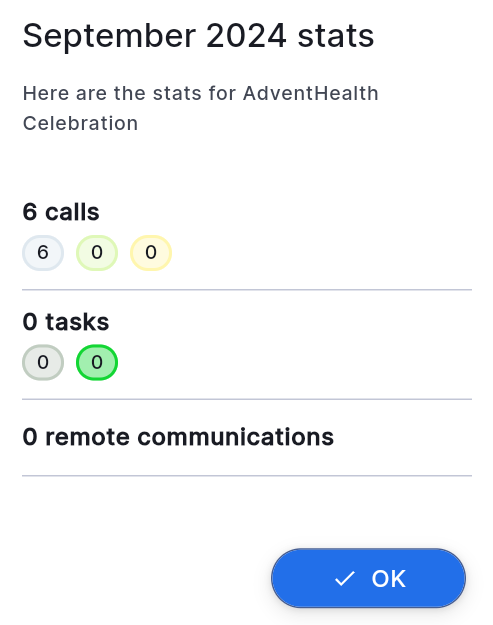
View a brief analysis of the activity.
And a button to jump to the current month.