This dataset is located in the left column, under the Companies section. It is necessary to link the type of company to roles to ensure that employees with different roles can only see specific types of companies.
Detailed Description
This linkage is necessary in companies where employees from one country work in completely different directions. For example, if a company, in addition to regular calls to doctors and pharmacies, has a division dealing with veterinary products. By linking the role User_Vet with types of companies related to the veterinary direction, we remove such types of companies from the visibility of regular employees.
Upon opening the dataset, a table with the following columns will appear: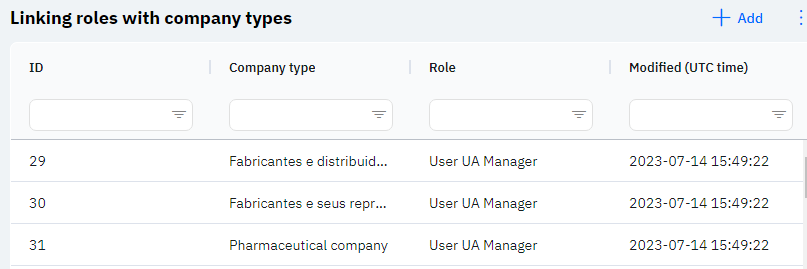
Id - this displays the ID of the link in the database. When a new row is added, this value will be generated automatically and there is no need to edit it later. This value may be useful, for example, when submitting a request to technical support.
Company type - the selected type of company.
Role - the selected role.
Detailed Description
Users cannot change or view their role. Changes to the user's card are made by technical support or by an employee who has access to the Admin Panel. The user's role can be viewed in the Users section, by clicking on the eye icon next to the interested user in the General section.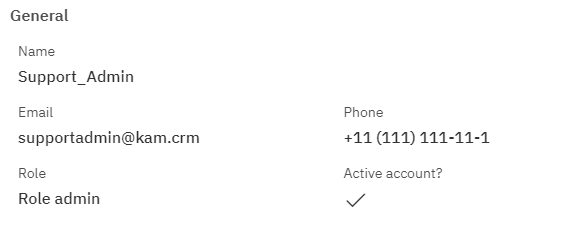
Modified – displays the date of the last modification of the row. The time is displayed in Greenwich Mean Time (UTC 0).
To add a new link, click on the + Add icon in the upper right corner. After clicking, a window will open where you can fill in the following fields: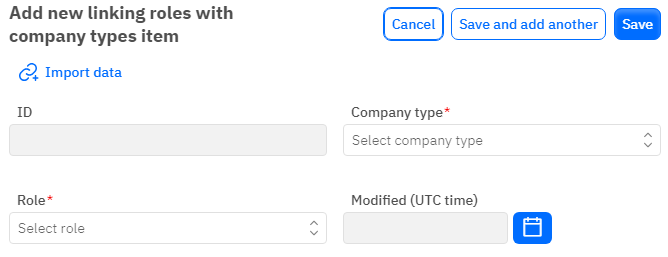
Id – This field is not editable; it will automatically be added when saving a new link.
Company type - a mandatory field, dropdown list. Only those types of companies that have already been added in the corresponding dataset can be selected.
Role - a mandatory field, dropdown list. Only those roles that have already been added in the corresponding dataset can be selected.
Modified – a non-editable field, set automatically after any modification or addition of the row.
After entering all necessary fields, you can click Save to save the data, click Save and Add More to save the data and open a new window for filling, or Cancel if the data does not need to be saved.