The option to add photos taken at the institution. By clicking on the "Photo" field in the planned visit card, a new window opens for the user.
-
In the new window, the user can click on the "+" in the upper right corner to add a photo.

The application will prompt the user to choose the photo source - camera or gallery.
-
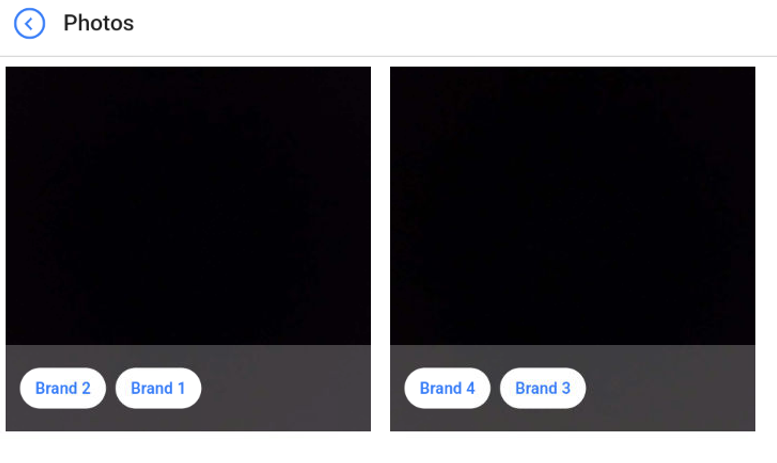
After adding the photo, it can be seen in the list in this window.

-
By clicking on the photo, the user can assign tags to it.

-
In the editing window, click on the "+" in the bottom right corner. A window with available tags will appear.

-
Select the necessary tags and press "Done" at the bottom of the screen.

-
Click " < " in the photo addition window to save the changes and attach the photo to the visit.
-
To delete a photo, click on the three lines in the top-right corner.

Then, select the photos user want to remove (or select all).
-
Next, click on the trash can icon to delete them.

To copy tags to a photo, click on the three lines in the top-right corner.
-
Then, select the photo to which the user wants to add tags.

-
Click on the copy icon.

- Select the tags already added to another photo in this visit and click Done.

-
After that, the specified tags will be added to the selected photos.
