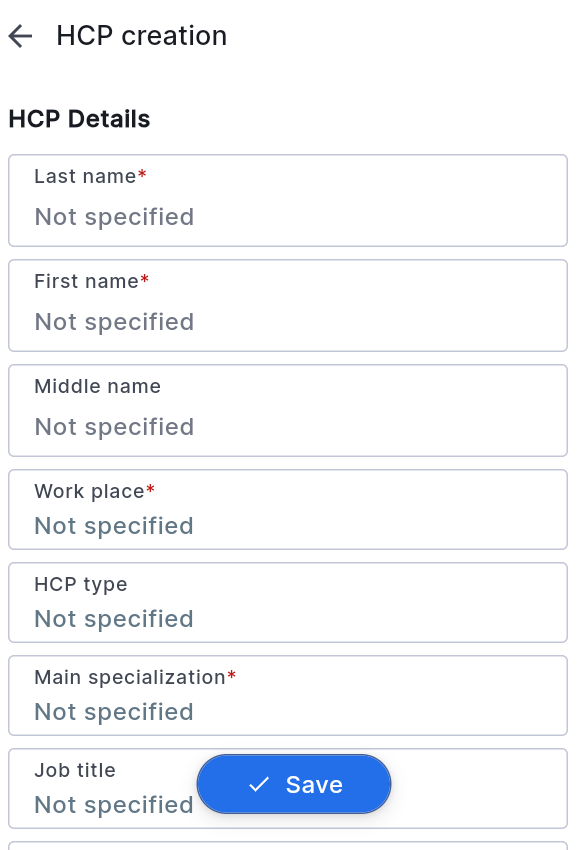
To create a client, the user needs to navigate to the HCP’s section. In the bottom right corner of the screen, there is a button for creating a client, marked as "+". When this button is pressed, a window will open where the user can enter information about the new client. To add a client, the user needs to fill in the fields marked in red (mandatory fields), while the other fields are optional. After clicking the "Save" button, the client will be available for use. Please note that if the user's working area differs from the area of the created client, the client will not be displayed.
Additionally, a client can be added to the Institution card. To do this, open the institution card, go to the "Employees" tab, and in this tab, click the "New Client" button. In the new window, fill in the mandatory fields (the institution field will already be filled) and click the "Save" button.