Planning a call through the Schedule section:
-
Navigate to the "Schedule" section. In the bottom left corner of the screen, there is a button for creating a new activity, marked as "+". Clicking this button, the user should choose the activity type "New call".

-
Alternatively, the second option is to long-press on a convenient time slot in the schedule. A window will appear for selecting the desired activity type; choose "New call."

Scheduling call through the Clients/Institutions section involves the following steps:
-
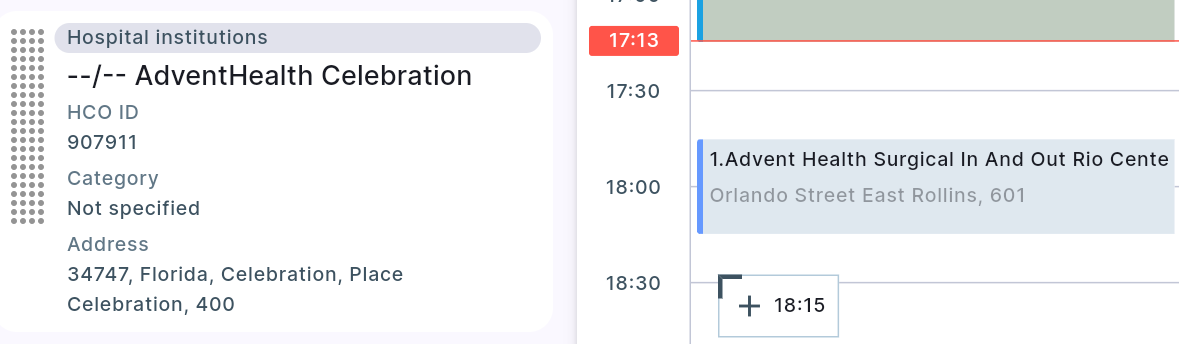
In the top right corner of the "Clients/Institutions" section, there is a "Planning Mode" button (resembling a calendar). Clicking this button shifts the list of clients/institutions to the left, and a schedule is displayed to the right. Dots will appear to the left of the client/institution cards. By holding the dots next to the desired entry, the user can drag the client/institution to a convenient time in the schedule, allowing for the planning of a call on the specified date and time. The planning mode supports the use of search and filters.
-
An alternative method for scheduling a call from the "Clients/Institutions" section is to open the client/institution card and click the "New call" button at the bottom of it. This opens a new call card, where necessary changes can be made. Clicking "Save" will save the data, or the button in the top right corner resembling a cross can be used to cancel changes.

-
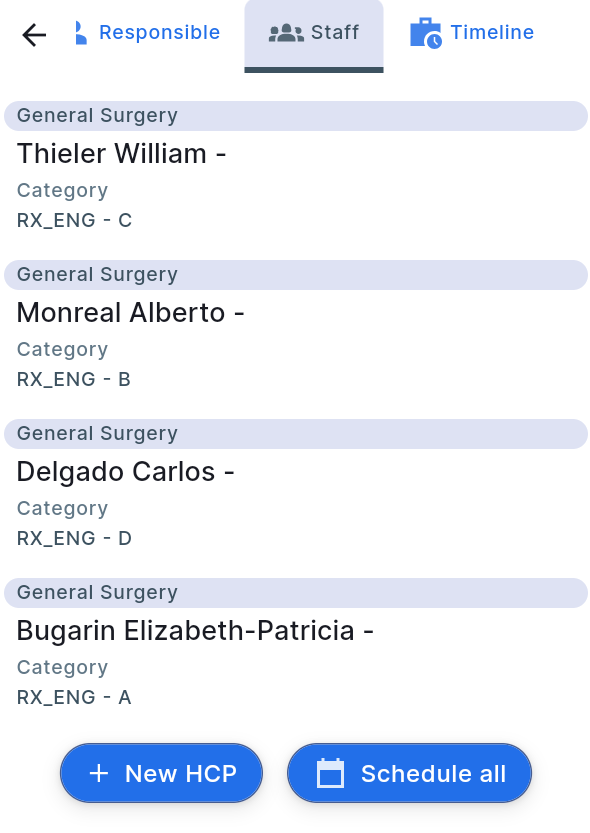
You can also schedule multiple doctors who work in the same institution through the Institutions section. By going to the Clients tab in the institution's card, you can click the "Schedule All" button, which will schedule all doctors from that institution for the specified date.