This dataset is located in the left column, under the Clients section. It contains information on all available target groups of clients.
Upon opening the dataset, a table with the following columns will appear: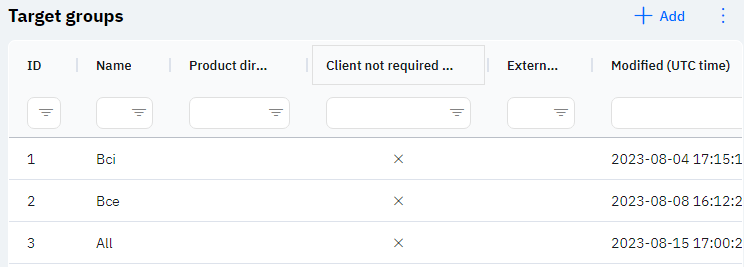
Id - this displays the ID of the target group in the database. When a new row is added, this value is generated automatically and there is no need to edit it later. This value may be useful, for example, when submitting a request to technical support.
Name - the name of the target group.
Detailed Description
The name of the target group, or target groups, of clients is mainly displayed in analytics. For example, from the perspective of a medical representative, he can see the target groups in the "Cycle Plan" report on his device.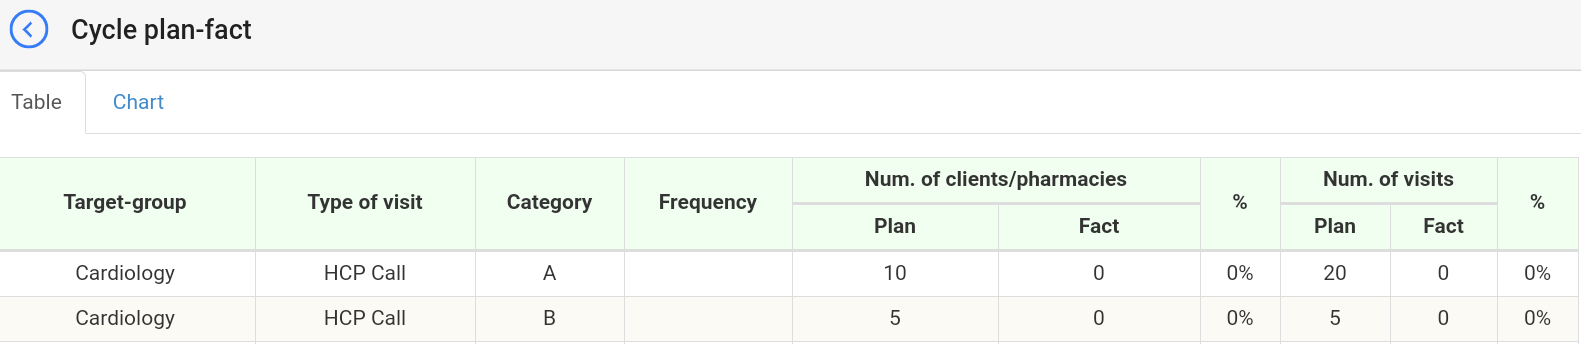
Target groups are needed to combine several specializations into one value for analytics and more convenient cycle plan creation. More about this in the dataset Linking specializations with target groups.
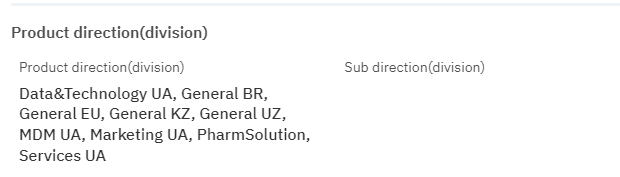
Product direction - the product direction to which this target group is linked. Several different target groups can be indicated for one product direction.
Detailed Description
Users cannot change or view their product direction. Changes to the user's card are made by technical support or by an employee who has access to the Admin Panel. The user's product direction can be viewed in the Users section, by clicking on the eye icon next to the interested user in the Product Direction section.
Client not required or institution - if a check mark is indicated in this dataset, it means this target group relates only to the clients section. If there is a cross, it indicates that this target group can also relate to institutions (often this target group is Pharmacies).
External Key – this column will display an external key. This can be used to link information with external data.
Modified – displays the date of the last modification of the row. The time is displayed in Greenwich Mean Time (UTC 0).
To add a new target group, click on the + Add icon in the upper right corner. After clicking, a window will open where you can fill in the following fields: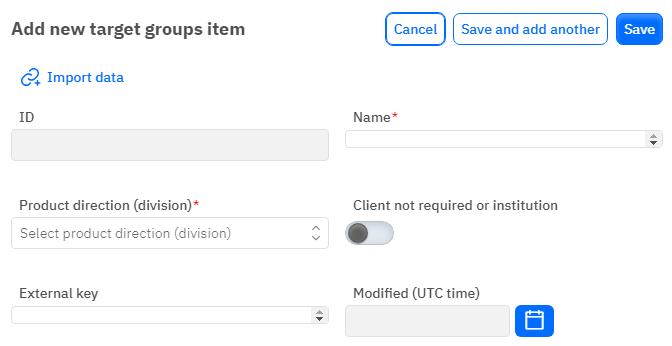
Id – This field is not editable; it will automatically be added when saving a new row.
Name – a mandatory field to fill out. You must specify the name of the target group.
Product direction - an optional field, you can choose a product direction from the dropdown list.
Client not required or institution - a toggle. Leave it in the off position if this target group includes institutions, turn it on if this target group pertains only to clients.
External Key - an optional field, you can enter an external key for the row.
Modified – a non-editable field, set automatically after any modification or addition of the row.
After entering all necessary fields, you can click Save to save the data, click Save and Add More to save the data and open a new window for filling, or Cancel if the data does not need to be saved.